

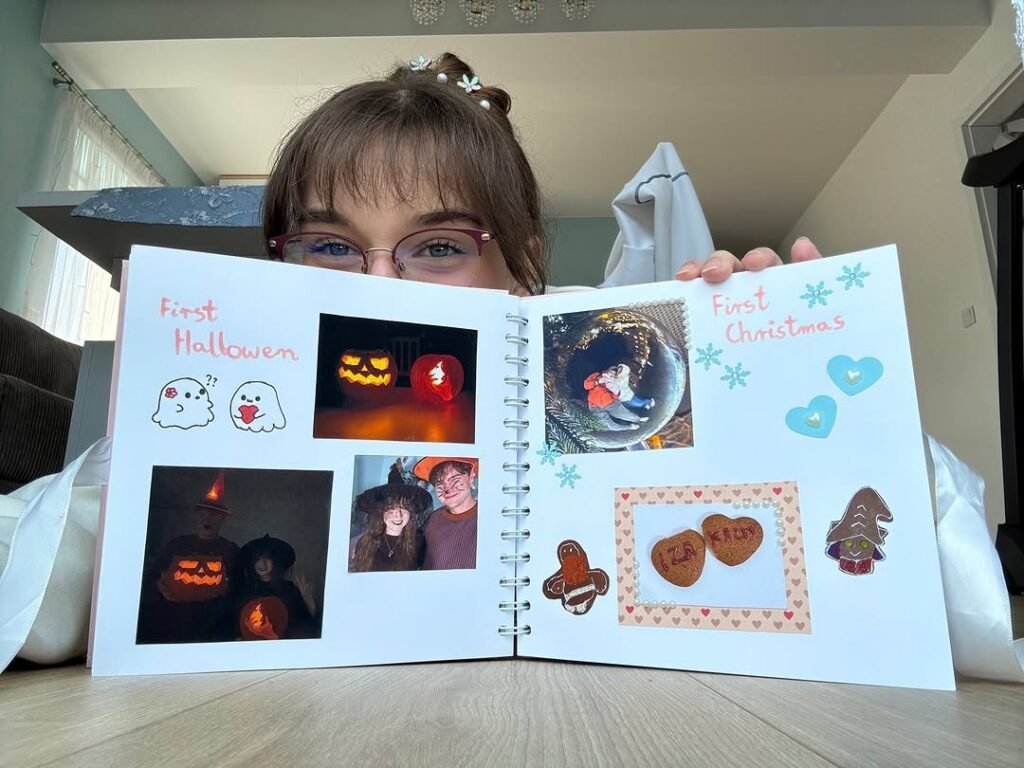
A store-bought gift says you remembered the date. A handmade scrapbook for your boyfriend says you remembered everything else too.
The first photo you took together. The joke that still makes him laugh.
The trip where the car broke down and somehow became your favorite story.
You do not need craft skills to make one. You need a handful of photos, a few cheap supplies, and one quiet evening.
This guide walks you through the whole build, step by step, with 15 easy page ideas that work even if your drawing peaked in third grade.
Scrapbooks land hardest on partners whose love language is words of affirmation or quality time. Not sure what his is?
Start with our guide on choosing the perfect gift using your partner’s love language. Then come back here and build the book.
What You Need to Make a Scrapbook for Your Boyfriend
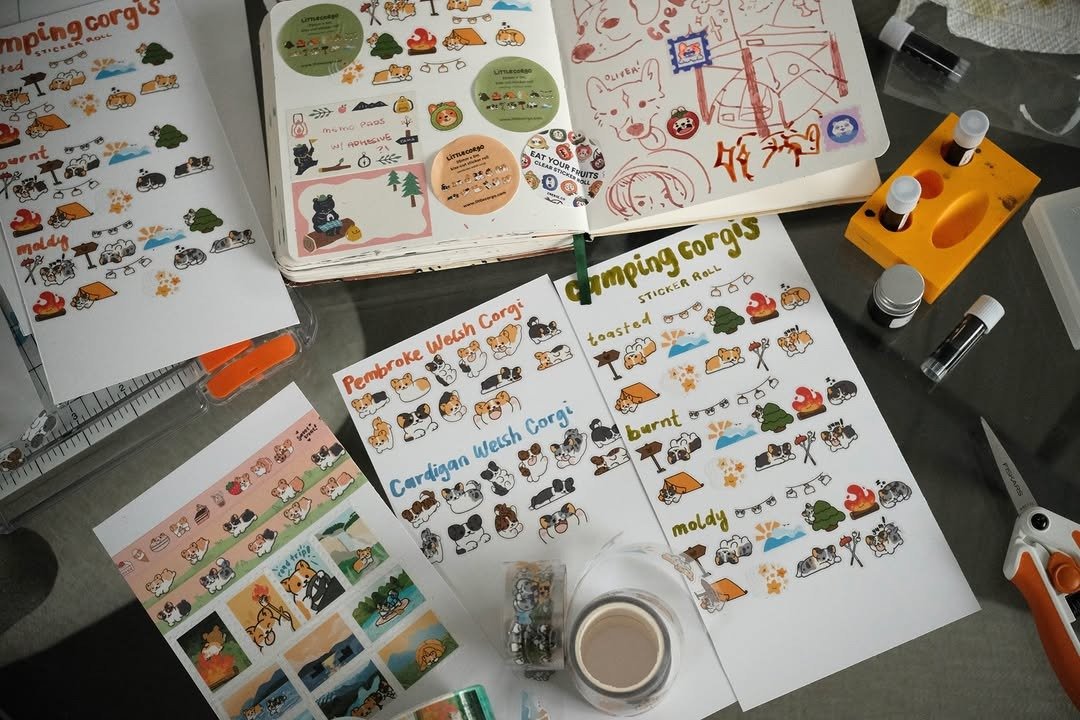
Keep the shopping list short. A beginner kit costs around $30 to $50 total, and most of it lasts for future projects.
Everything below is sold at big craft stores and online.
The beginner scrapbook kit
One safety note before you glue anything. Choose paper and glue labeled acid-free or photo-safe.
Cheap acidic paper yellows over time and can damage photos. The photo-safe versions cost about the same, so there is no reason to skip them.
Step 1: Pick Your Theme and Book Size
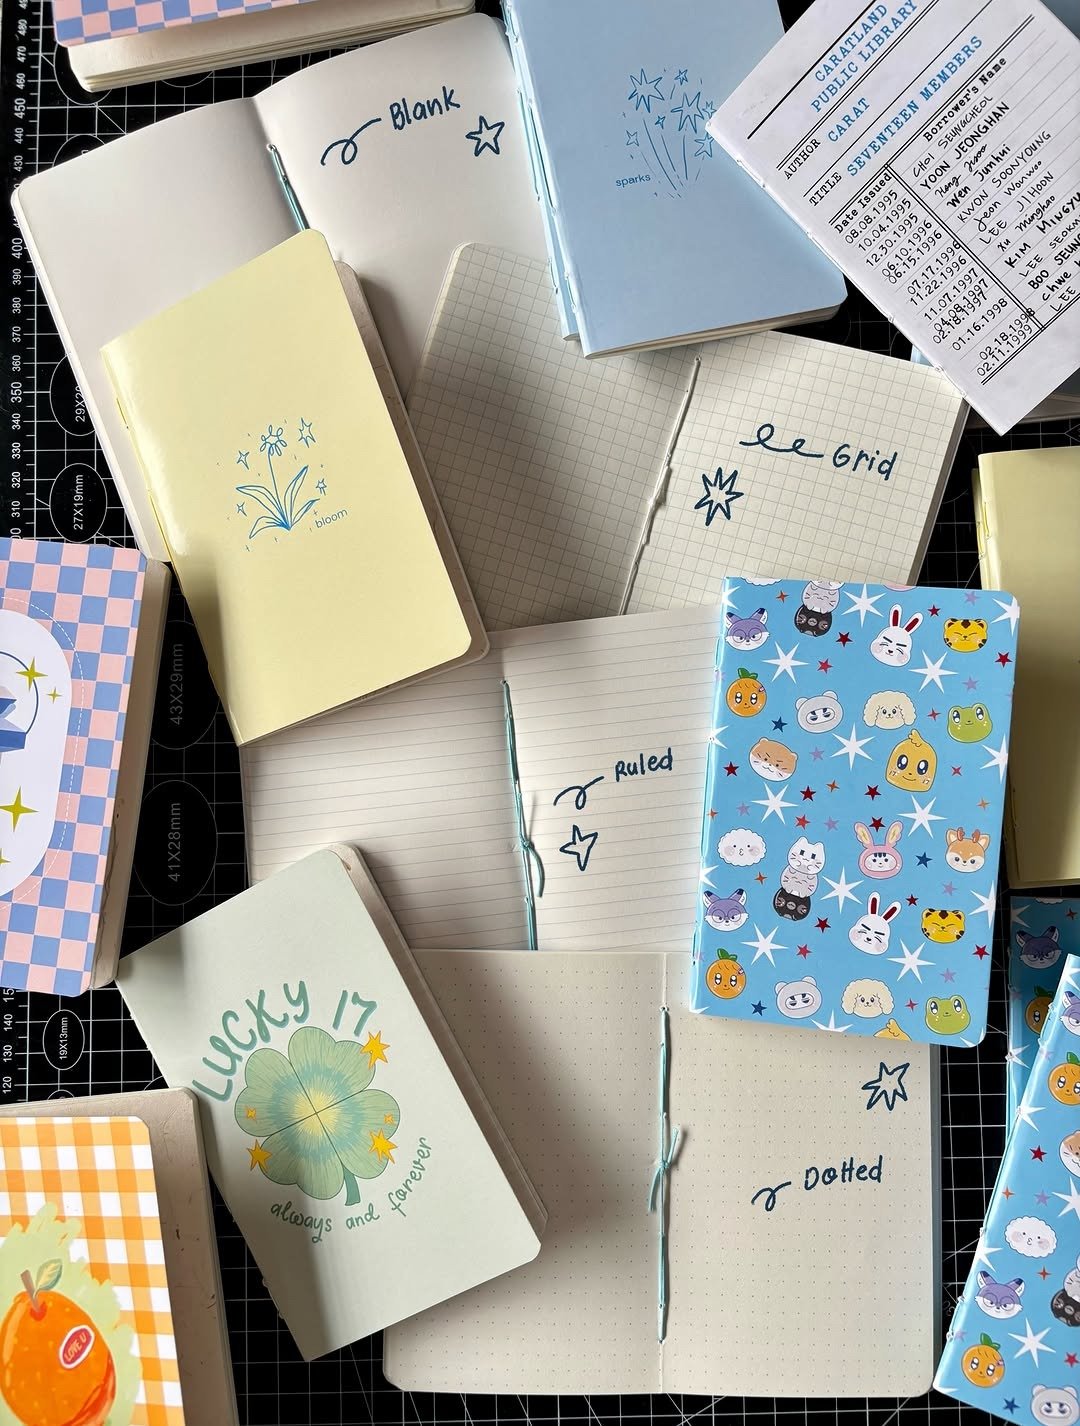
A theme is just the story your book tells. It keeps you from staring at 40 photos with no idea where to start.
Three themes work especially well for a first book.
The love story. Pages run in date order, from how you met to right now. This is the easiest theme to plan because time does the organizing for you.
The highlight reel. No timeline at all. Each page covers one favorite moment, trip, or inside joke. Good choice if your photos are scattered across phones and chats.
The reasons book. Every page gives one reason you appreciate him, paired with a photo or a short note. Simple, direct, and very hard for him to put down.
For size, a 12 by 12 inch album gives roomy pages but can feel big for a first try. An 8 by 8 inch album or a standard binder with letter-size pages is friendlier.
You fit fewer photos per page, which means faster wins and less blank space to fill.
| Scrapbook Album | 3-Ring Binder |
|---|---|
| Looks like a finished gift book | Looks more casual and handmade |
| Pages are fixed in place once glued | Pages move, swap, and grow over time |
| Best for a one-time anniversary gift | Best for a book you add to every year |
Step 2: Gather and Print Your Photos
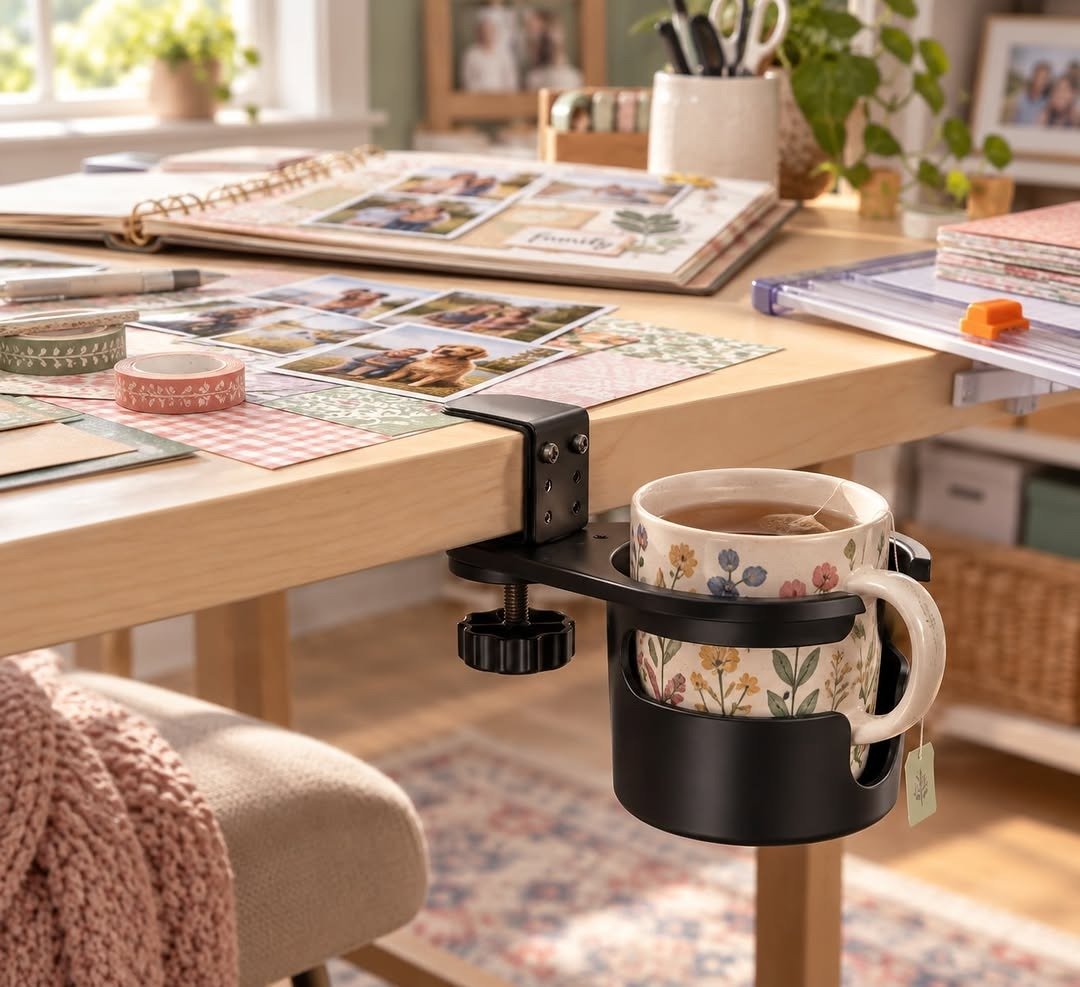
Start in your phone’s favorites folder, then dig through your chats. The best scrapbook photos are not always the prettiest ones.
The blurry laughing shot often beats the posed portrait, because it holds a real moment.
Aim for 20 to 40 photos for a first book. That sounds like a lot, but pages fill fast once ticket stubs, notes, and captions join in.
Sort your picks into rough groups as you go: early days, trips, everyday moments, funny ones.
Print standard 4 by 6 inch photos. It is the cheapest size everywhere, and it fits beginner layouts without trimming.
Drugstores like CVS and Walgreens print them the same day, and online services mail them in a few days for less per print.
Choose a matte finish if the printer offers one. Matte photos hide fingerprints, glare less under room light, and sit flatter on the page.
Print two or three favorites at 5 by 7 inches to anchor your biggest pages.
Photo picking checklist
Step 3: Plan Your Pages Before You Glue
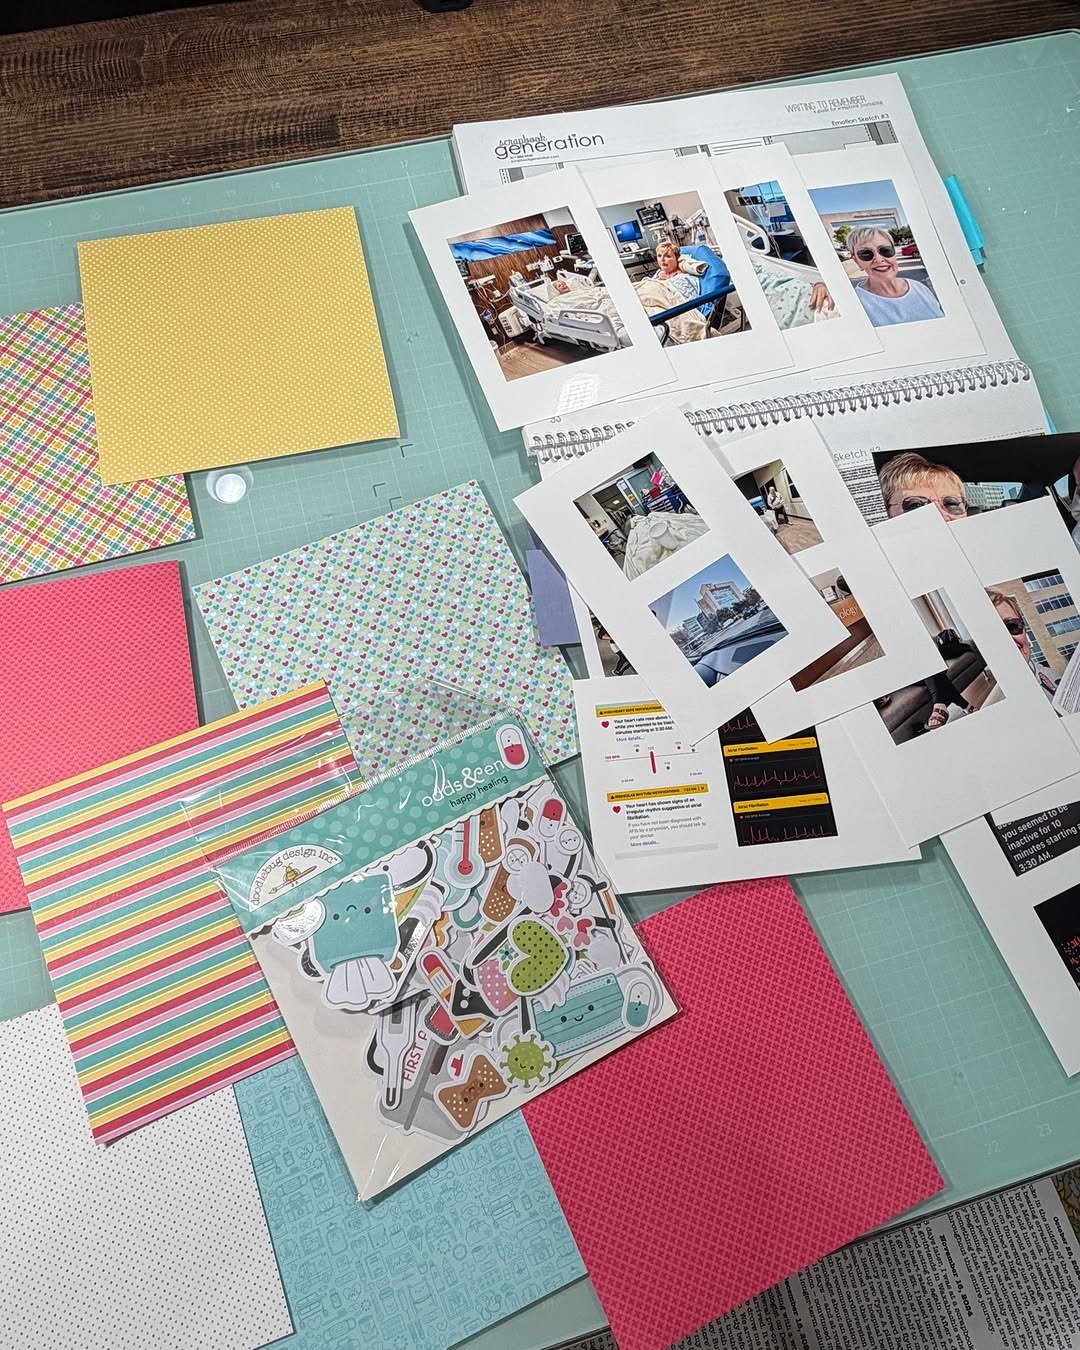
Ten minutes of planning saves an hour of regret. Take a plain sheet of paper and list your pages in order, one line each.
Cover page, first date, the trip, the funny page, and so on.
Then sketch two or three simple layouts and reuse them through the book. Consistency is a feature, not a flaw.
Repeating a layout with different photos and colors makes the book feel designed instead of random, and it removes 90 percent of beginner stress.
Work with the rule of three on each page: one main photo or photo group, one title or caption block, one small decoration cluster. If a page looks busy, something in that trio is doing double duty.
Cut it.
💡 Quick Tip
Lay out the full book with sticky notes before touching glue. Write the page title on each note, move them around until the story flows, and only then start building pages for real.
Step 4: Build a Beginner Layout That Always Works
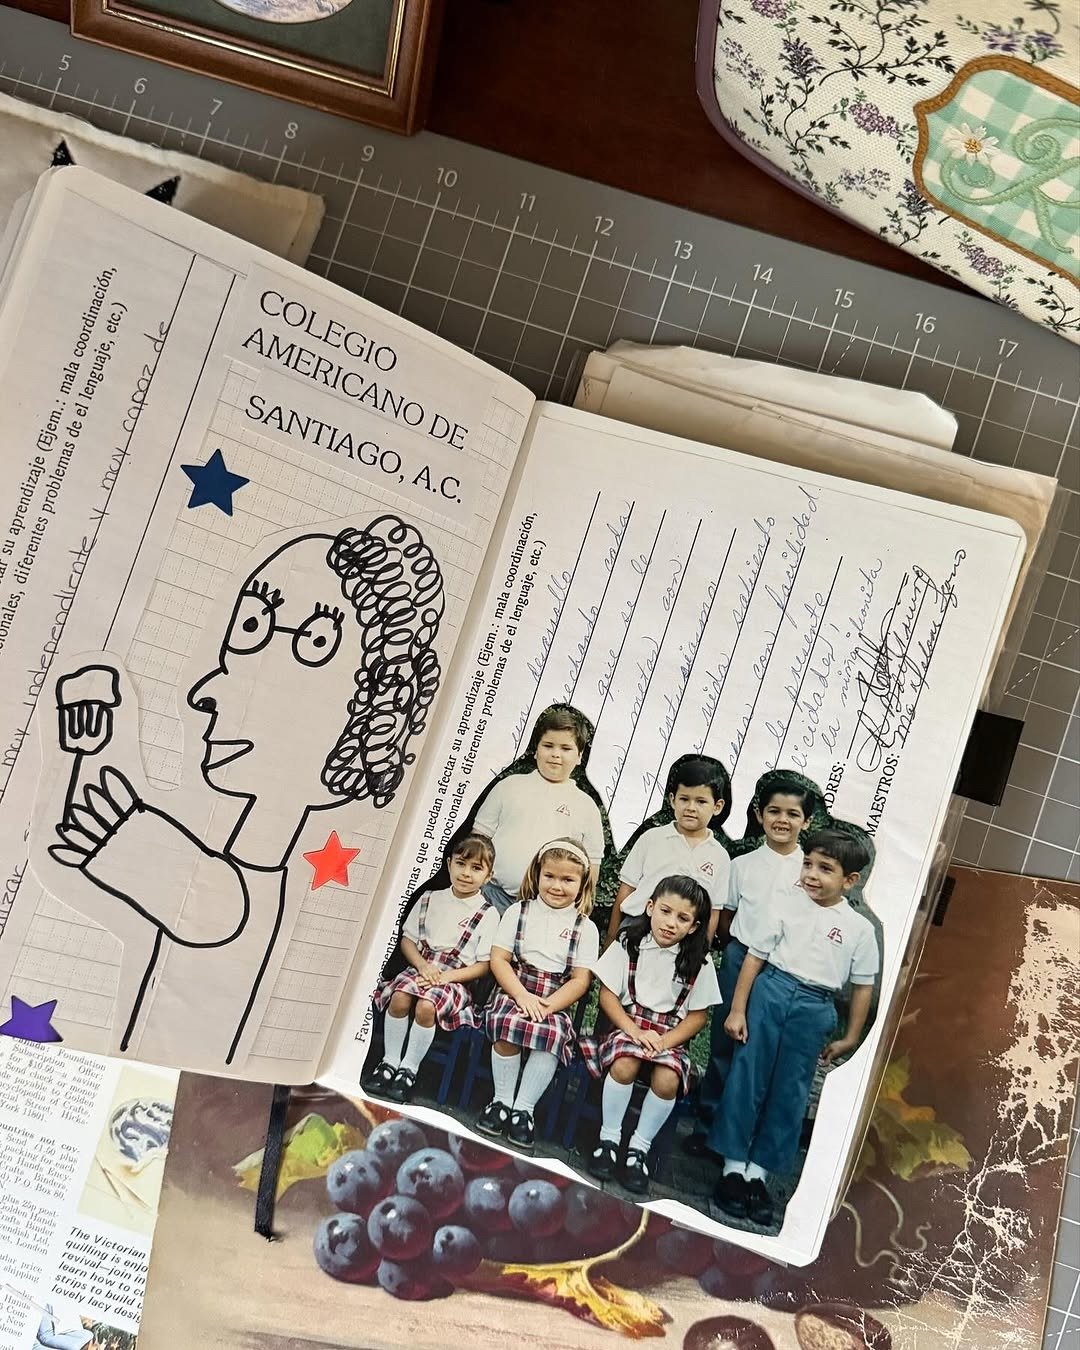
Here is the golden rule of your first scrapbook. Never glue anything down until the whole page is arranged.
Photos can be moved, swapped, and re-balanced while dry. Glue makes the decision final, so make every decision twice.
Start with a solid background paper in a neutral tone. Navy, charcoal, cream, or forest green all work well for a boyfriend’s book.
Then pick one patterned paper to layer behind your photos. Cut it slightly larger than the photo so a thin border shows on each side.
That one trick is what makes pages look crafted instead of pasted.
The single-photo layout never fails. One larger photo sits just above center, with the caption underneath and two small decorations in the corners.
The grid layout covers busy pages. Two to four photos in even rows, a thin title strip at the top, and nothing else.
Let the photos breathe.
Every photo glued straight onto the page edge to edge. Titles floating with no anchor. Stickers scattered wherever space ran out. The page feels crowded even though half of it is empty.
Each photo backed with accent paper for a clean frame. One title block anchored top left. Two stickers grouped near one photo. White space left on purpose. Same photos, totally different page.
Step 5: Write Captions That Actually Mean Something
The photos catch his eye. The words are what he reads twice.
A caption does not need to be long or poetic. It needs to tell him why this moment made the cut.
Dates matter more than you think. Ten years from now, “March 2024, our first road trip” turns a nice photo into a time capsule.
Write the date on nearly every page, even if it feels obvious right now.
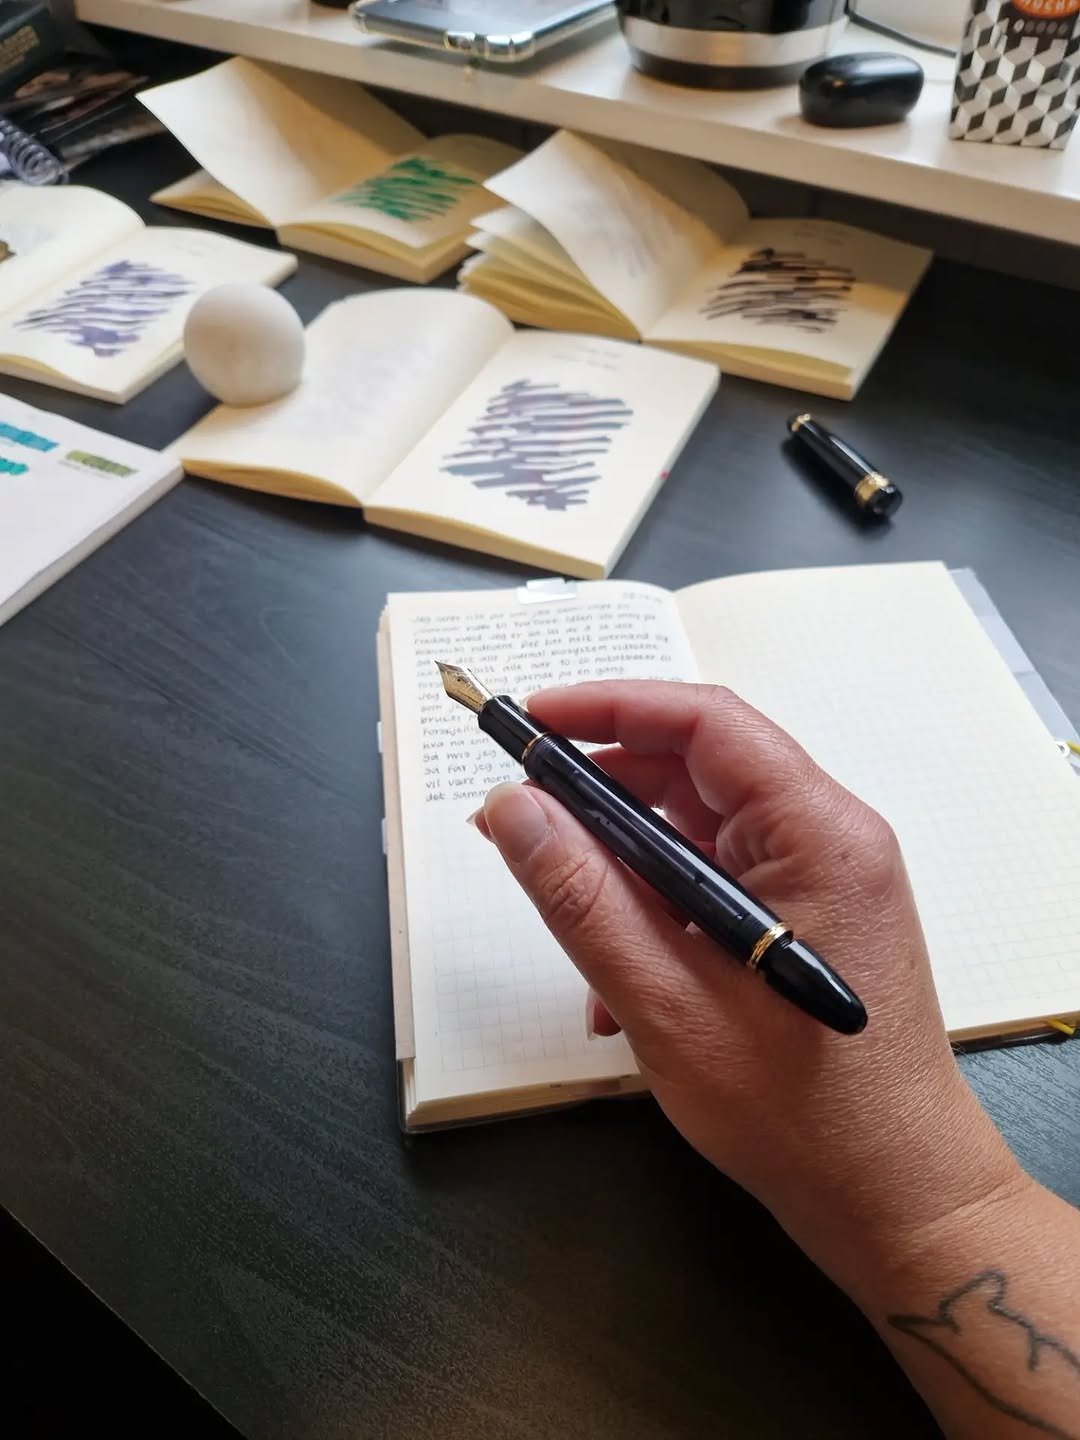
Your own handwriting is part of the gift. Typed labels look neat, but the slight wobble of your handwriting tells him a person sat down and wrote this for him.
If your handwriting truly bothers you, print short captions on plain paper and trim them into strips.
- ▸The one-line story: “He ordered the wrong dish and we still talk about it.”
- ▸The direct line: “This is the face you made when you beat my high score.”
- ▸The inside joke: just the punchline, no setup needed. He will get it.
- ▸The short letter: three sentences max on the page, longer ones tucked in envelopes.
Step 6: Decorate Without Overdoing It
Beginners decorate either too much or too little. The fix is a simple quota.
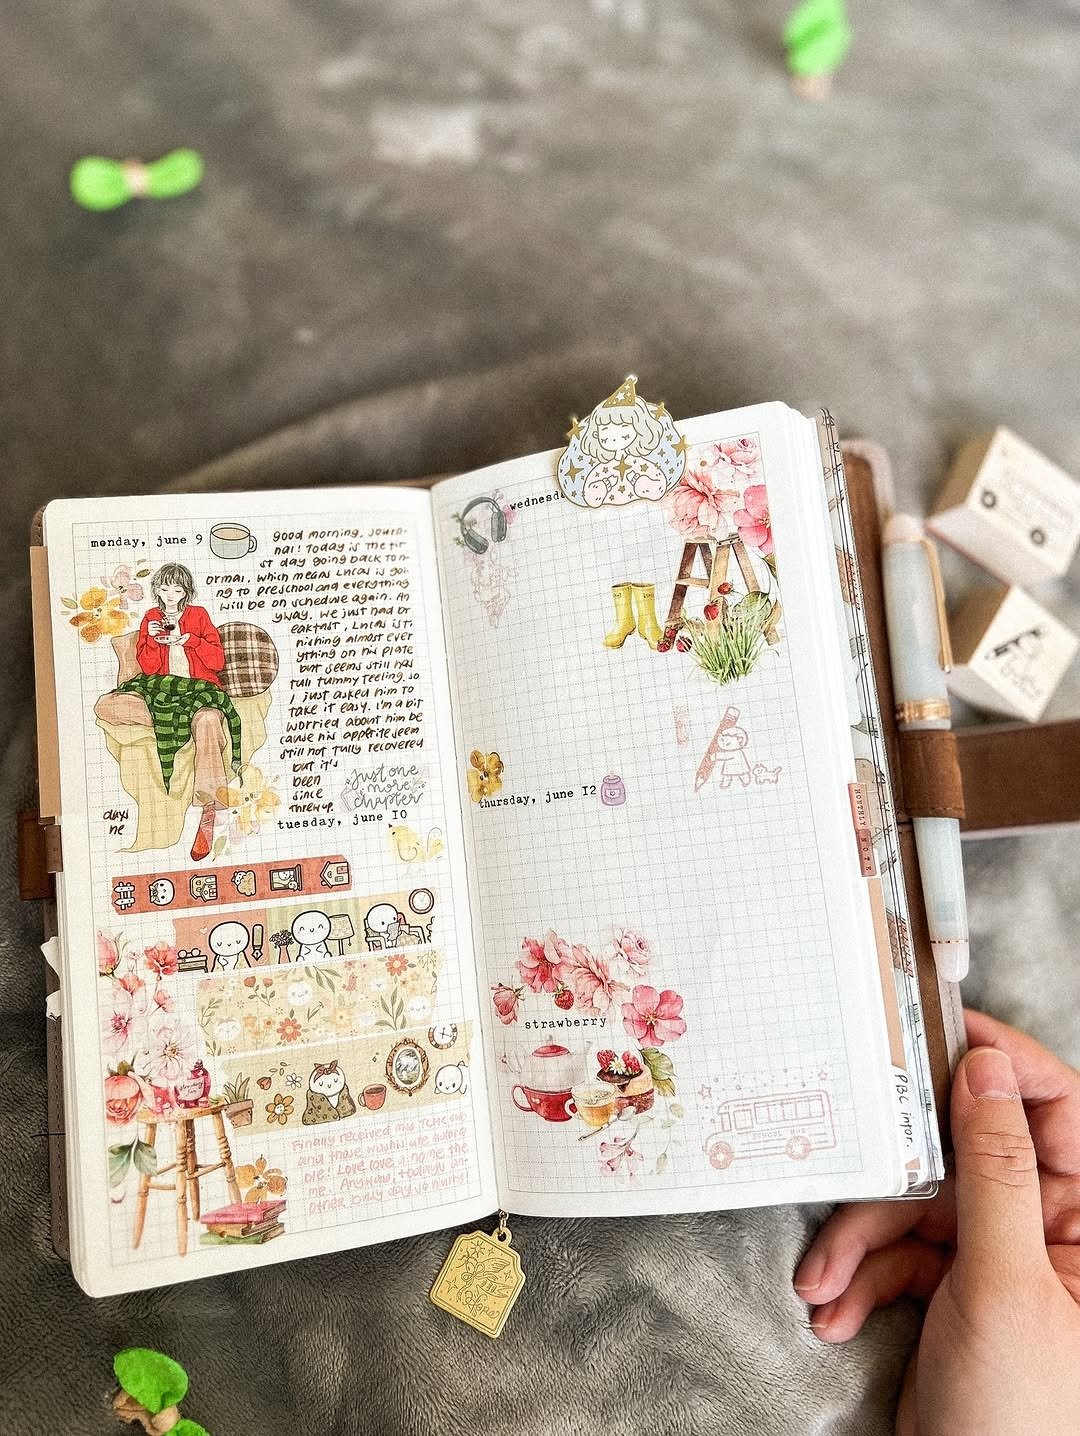
Two or three decorations per page, grouped near one photo. That is enough to make the page feel finished without burying the memories under stuff.
Washi tape is the beginner’s best friend. It frames photos, makes borders, and peels off if you change your mind.
Photo corner stickers give a classic album feel in seconds. Plain stickers work, but pick one style per page instead of mixing five.
For a boyfriend’s book, reach for masculine color palettes. Navy and gold, black and white, forest green and tan, or gray with one bold color all look sharp.
That does not mean the book has to be plain. It means the decoration supports the photos instead of competing with them.
Group two or three decorations near one photo for a finished look.
Repeat one washi tape pattern across the book so pages feel connected.
Filling every empty corner with a sticker. White space is part of the design.
Mixing five patterns on one page. Two patterns max keeps it clean.
Step 7: Finish, Protect, and Present It
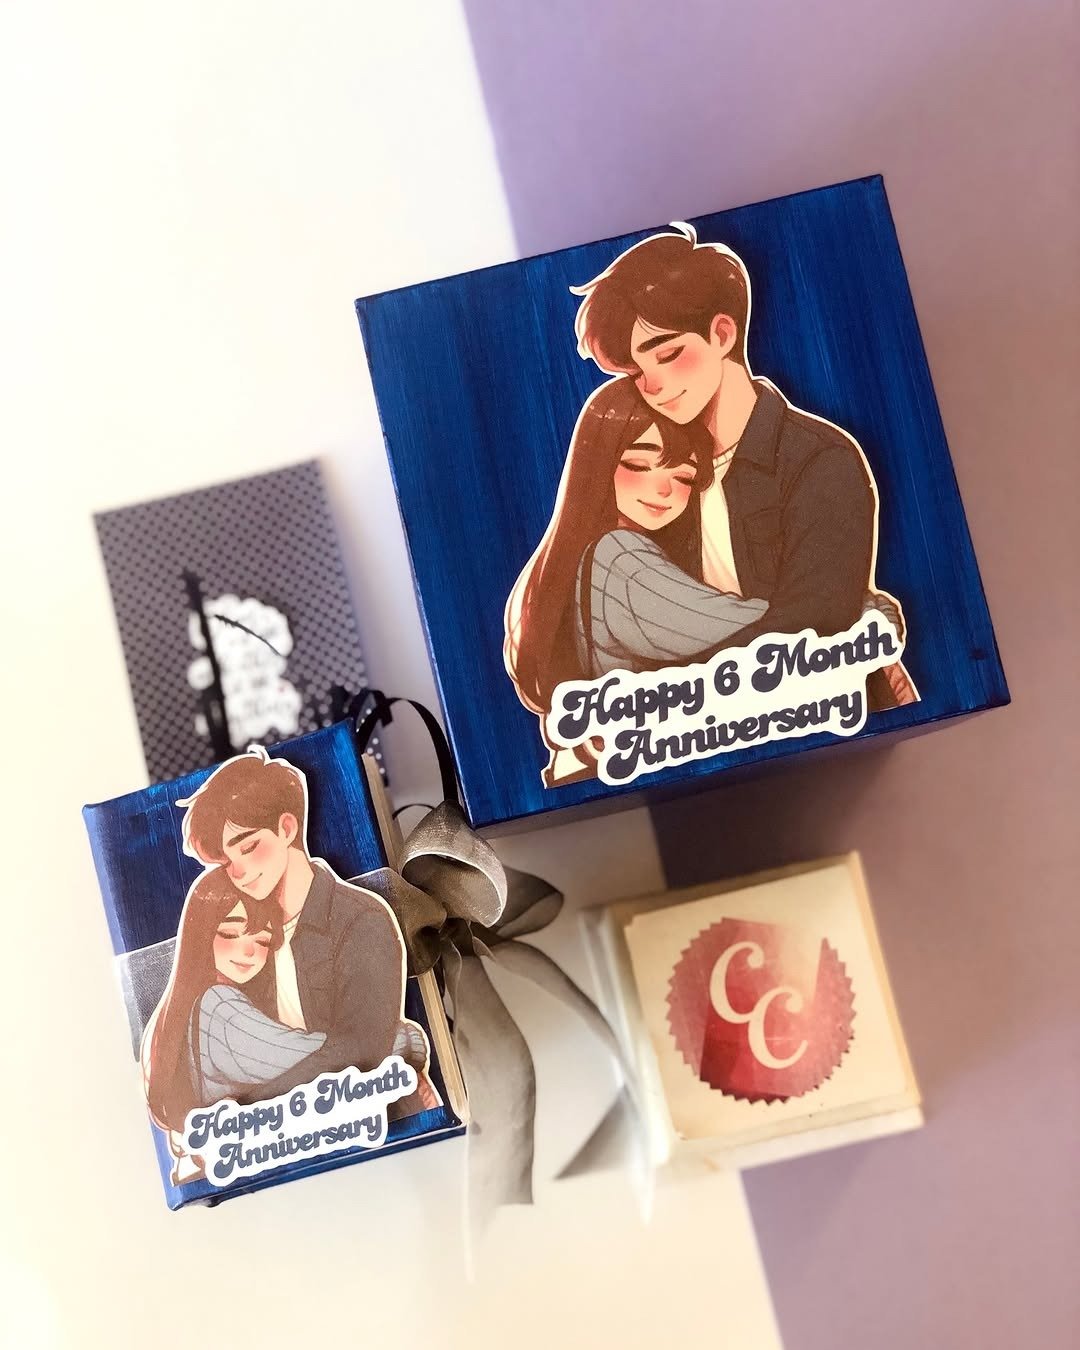
The cover page sets the tone. Keep it simple.
Your names, one favorite photo, and a title like “Our Story” or “The Us Book”. One great photo on the cover beats a busy collage every time.
Slide finished pages into clear page protectors if your album or binder supports them. They guard against fingerprints and spills, and they let him flip through without worrying about damage.
For glued pages without protectors, a light mist of archival spray adds some protection.
Presentation is half the gift. Wrap the book, attach a card, and include a short handwritten note about why you made it.
The book itself is the main event, but watching him open it is the part you will both remember. If you want to build the gift around it, pair the scrapbook with a DIY gift basket for your boyfriend filled with his favorite snacks.
He will not remember what the book cost. He will remember that you chose the photos, wrote the words, and spent your evenings building it for him. Effort is the luxury no store can sell.
15 Easy Beginner Page Ideas for Your Scrapbook
Stuck on what fills the middle of the book? These 15 page ideas are built for first-timers.
Each one uses one or two photos and one simple trick, so every page is an evening’s work at most.
1. Our Story Timeline
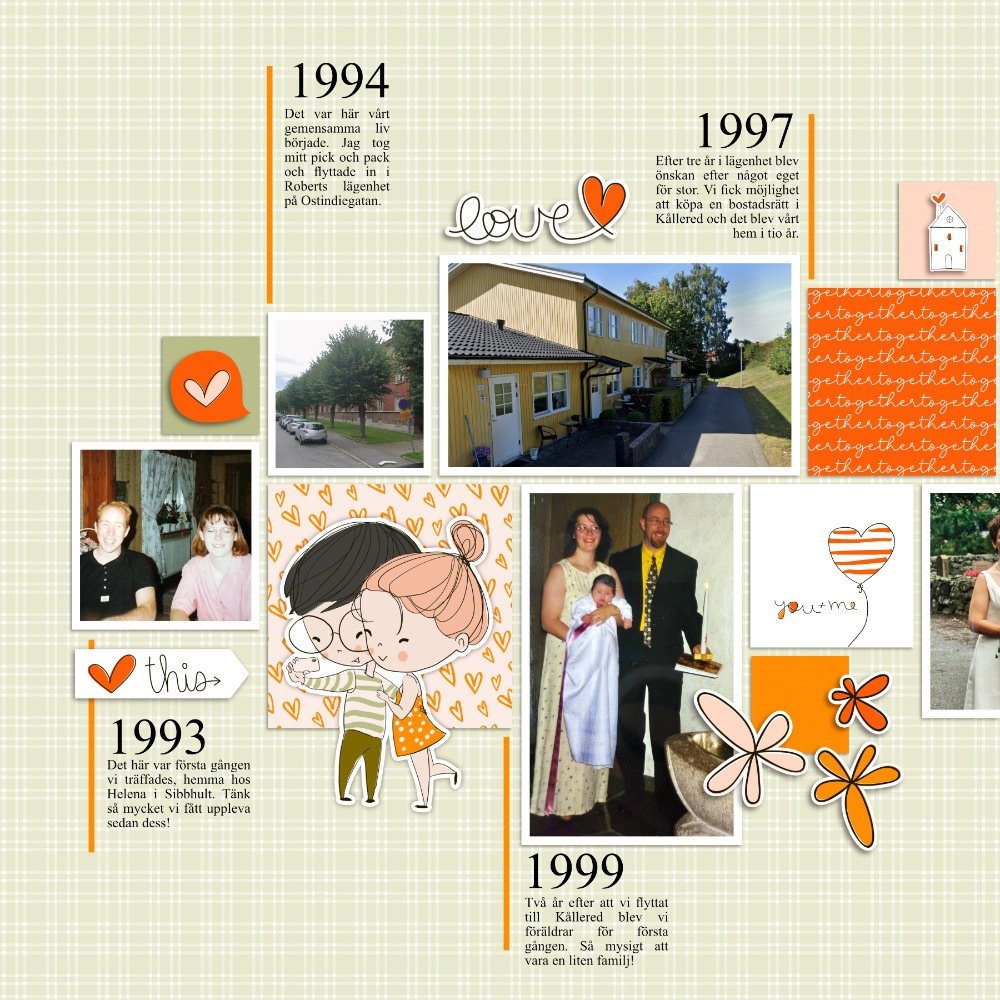
Draw a simple line across two pages. Mark your milestones along it: first message, first date, first trip, and so on.
Small photos sit above each mark. The timeline page doubles as your table of contents, so he always knows what comes next.
List 6 to 10 milestones in date order on scratch paper.
Draw the line and space the marks evenly across the spread.
Add one photo and one date per mark. Done.
2. The First Date Page
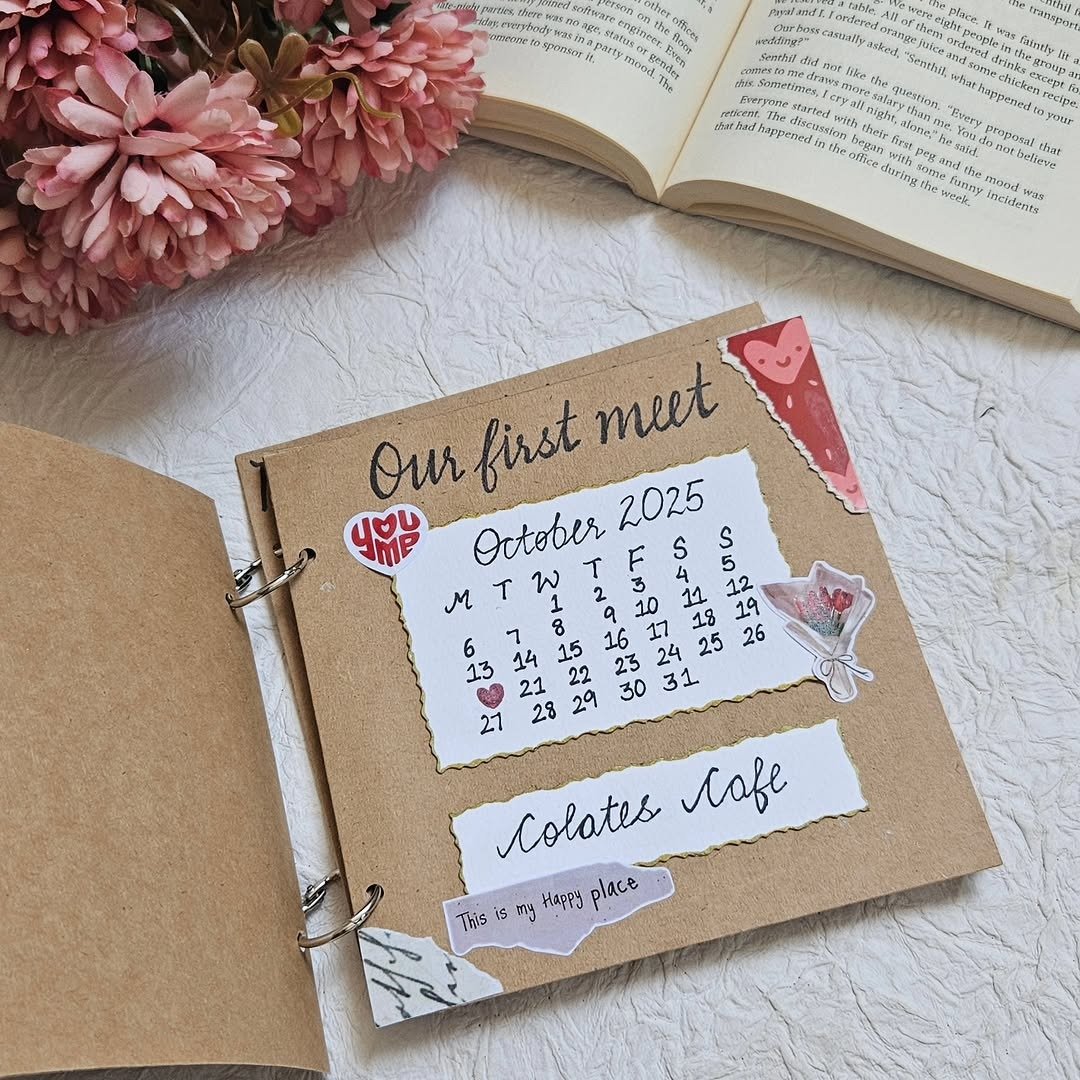
One page for the night it started. Include what you wore, where you went, and what you remember thinking.
If you have a photo from that night, it gets the big spot. If not, draw a tiny map of the route you took.
The hand-drawn map is charming on purpose.
💡 Quick Tip
Add a “then” detail he has forgotten, like what he ordered or the song playing when you sat down. Small remembered details are what make him feel known.
3. Travel Adventures Map Page
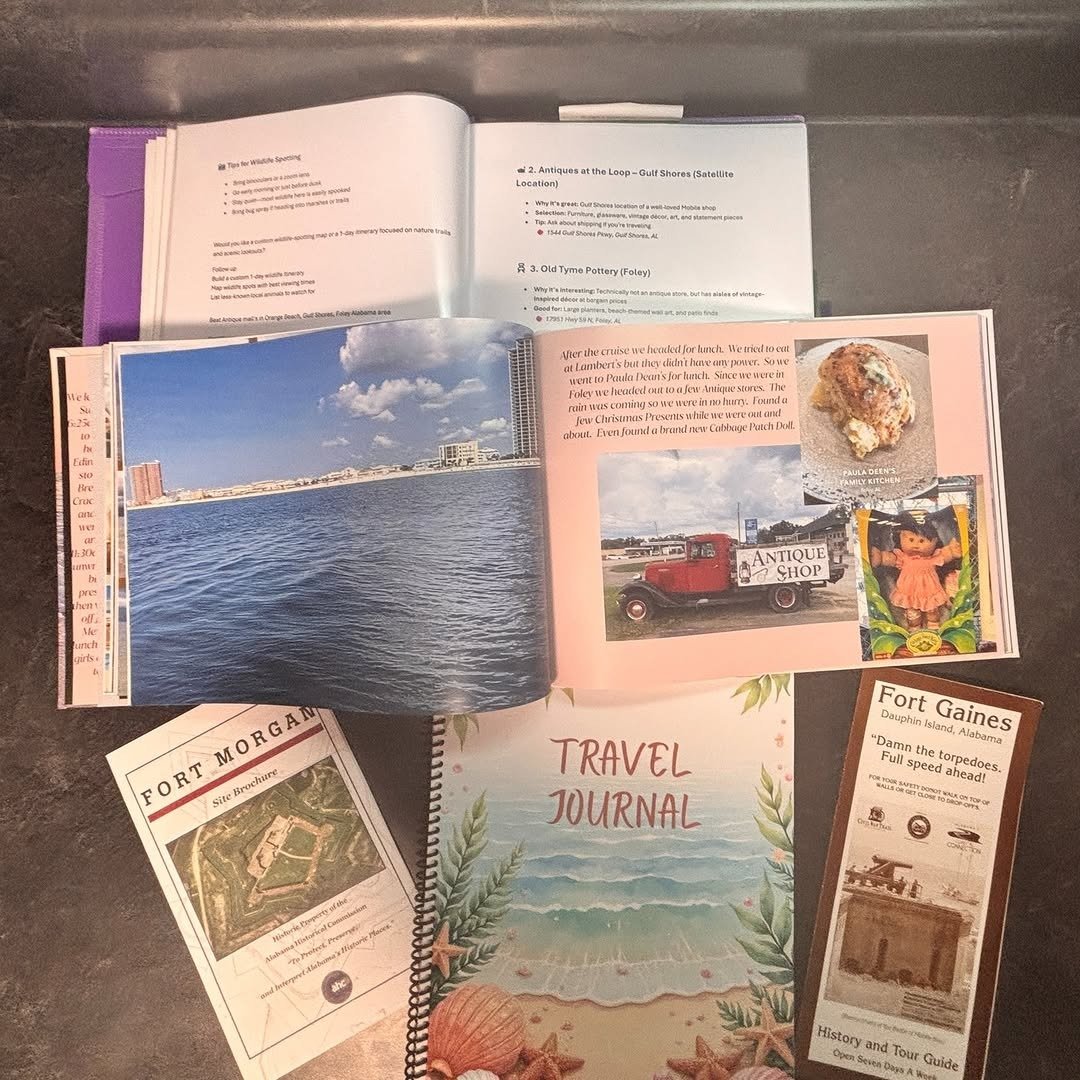
Print a simple map of the places you have been together, or sketch one. Draw your route with a metallic marker and pin photos along the path.
Receipts, boarding pass stubs, and postcards from the trips fill the gaps naturally.
4. Date Night Ticket Stubs
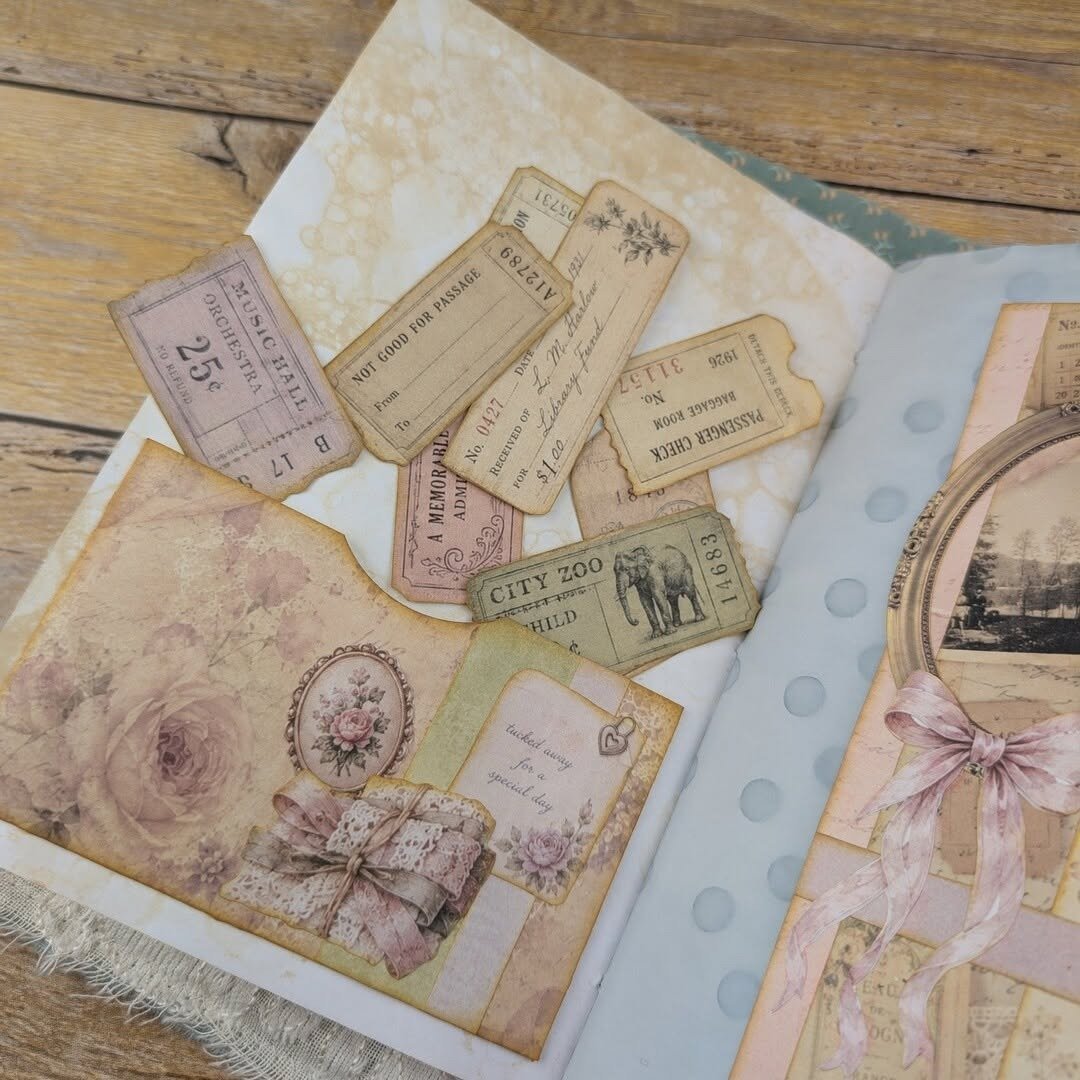
Movies, concerts, games, the fair. Gather every stub you still have and arrange them in rows on one page.
If you lost the stubs, print tiny screenshots of the event posters instead. This page almost builds itself once you gather the pieces.
Gather these for the page
5. Food We Love
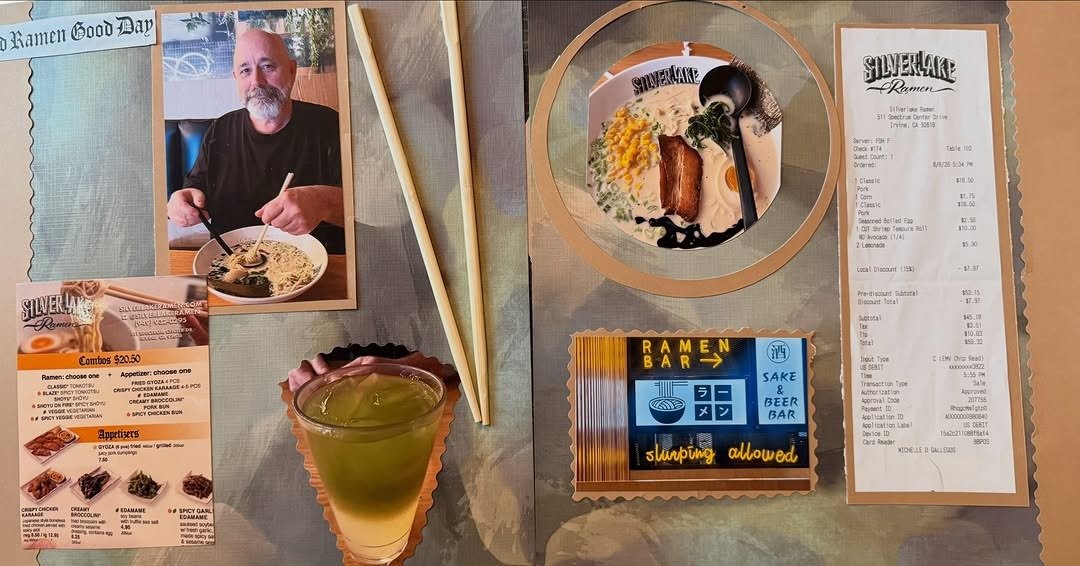
The restaurants, the recipes, the snacks. Photos of meals you cooked together, menus from date nights, a favorite recipe copied in your handwriting.
Junk-journal style works great here. Menus, receipts, and labels are free decorations with built-in memories.
6. 10 Things I Love About You
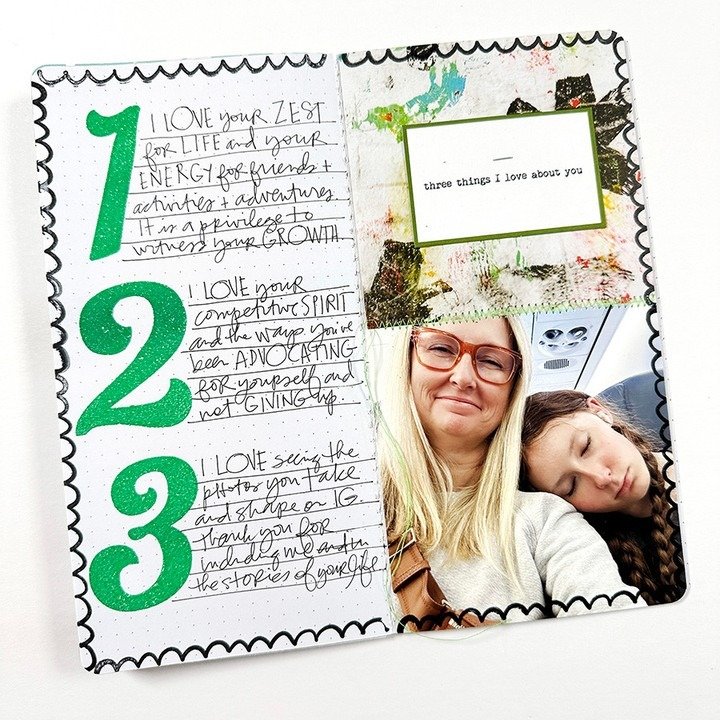
A classic for a reason. Number the list from 1 to 10 and write one honest line per number.
Keep each one specific to him. “The way you always save me the last bite” beats “you are kind” every time.
Small photos or doodles fill the margins.
- ▸Mix big reasons (how he treats you) with small ones (how he makes coffee).
- ▸Leave number 10 half blank with a line that says “to be continued”.
- ▸Use two facing pages if your handwriting runs big. Let it breathe.
7. His Favorite Song Lyrics
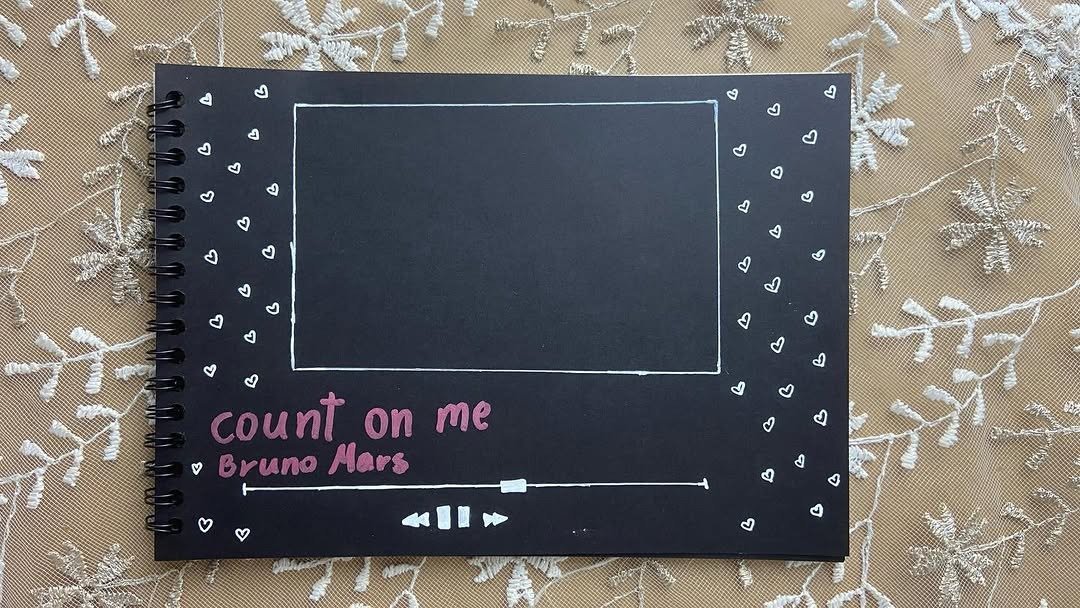
Pick the song that feels like your relationship and write out the lines that matter most. Build the page around the lyrics with one photo that matches the mood.
If you have a concert ticket from seeing it live, this is where it goes.
“The words you write here should sound like the two of you, not like a greeting card.”
Pick lines he already knows by heart
8. Funny Moments and Bloopers
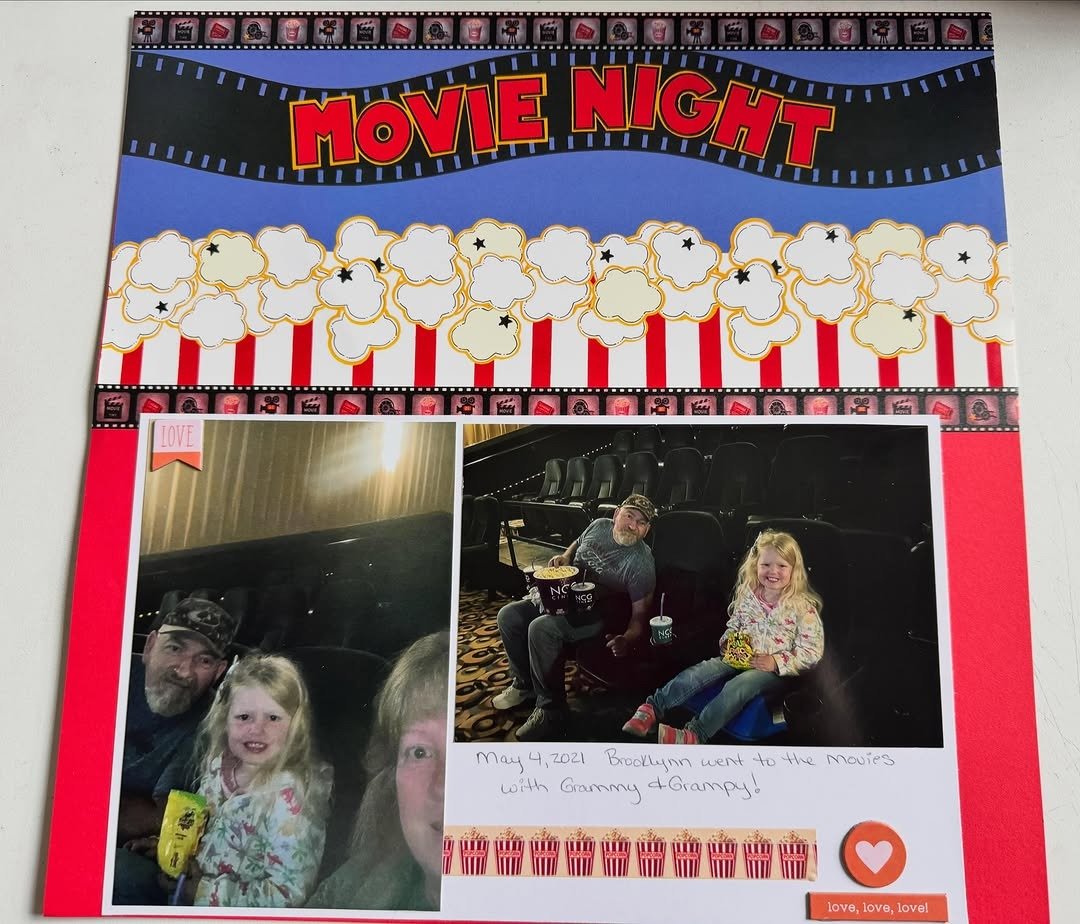
Every couple has the photo that is objectively terrible and secretly the best one. The double chin.
The mid-sneeze. The failed jump shot.
Give these their own page with captions that retell the story. Laughter pages get flipped to more than any other.
Caption the photo with what was happening right before it.
Include one blooper you took of yourself too. Fair is fair.
Photos he genuinely hates. Funny and hurtful are not the same thing.
Jokes that punch down. Inside jokes, yes. Mean jokes, no.
9. Seasons Together
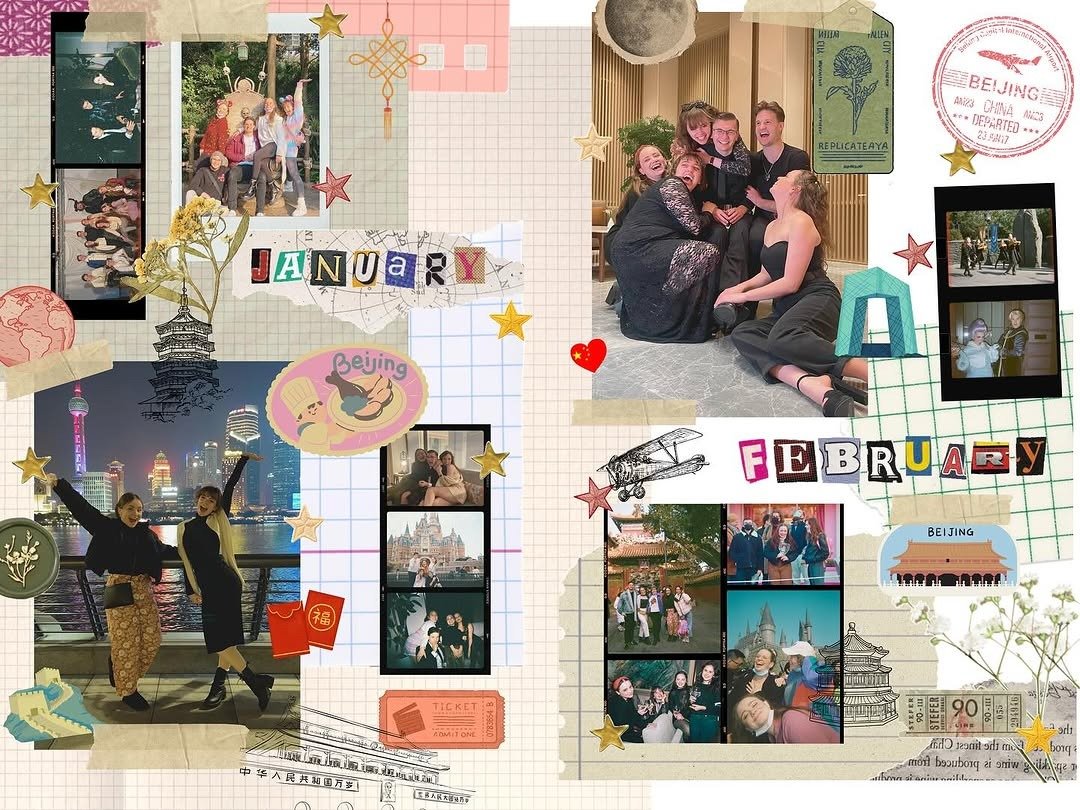
One page per season, one photo that defines it. The snow day, the spring picnic, the summer road trip, the fall walk.
Color the page edges to match the season and the spread becomes a year you can hold.
10. The Pet Page
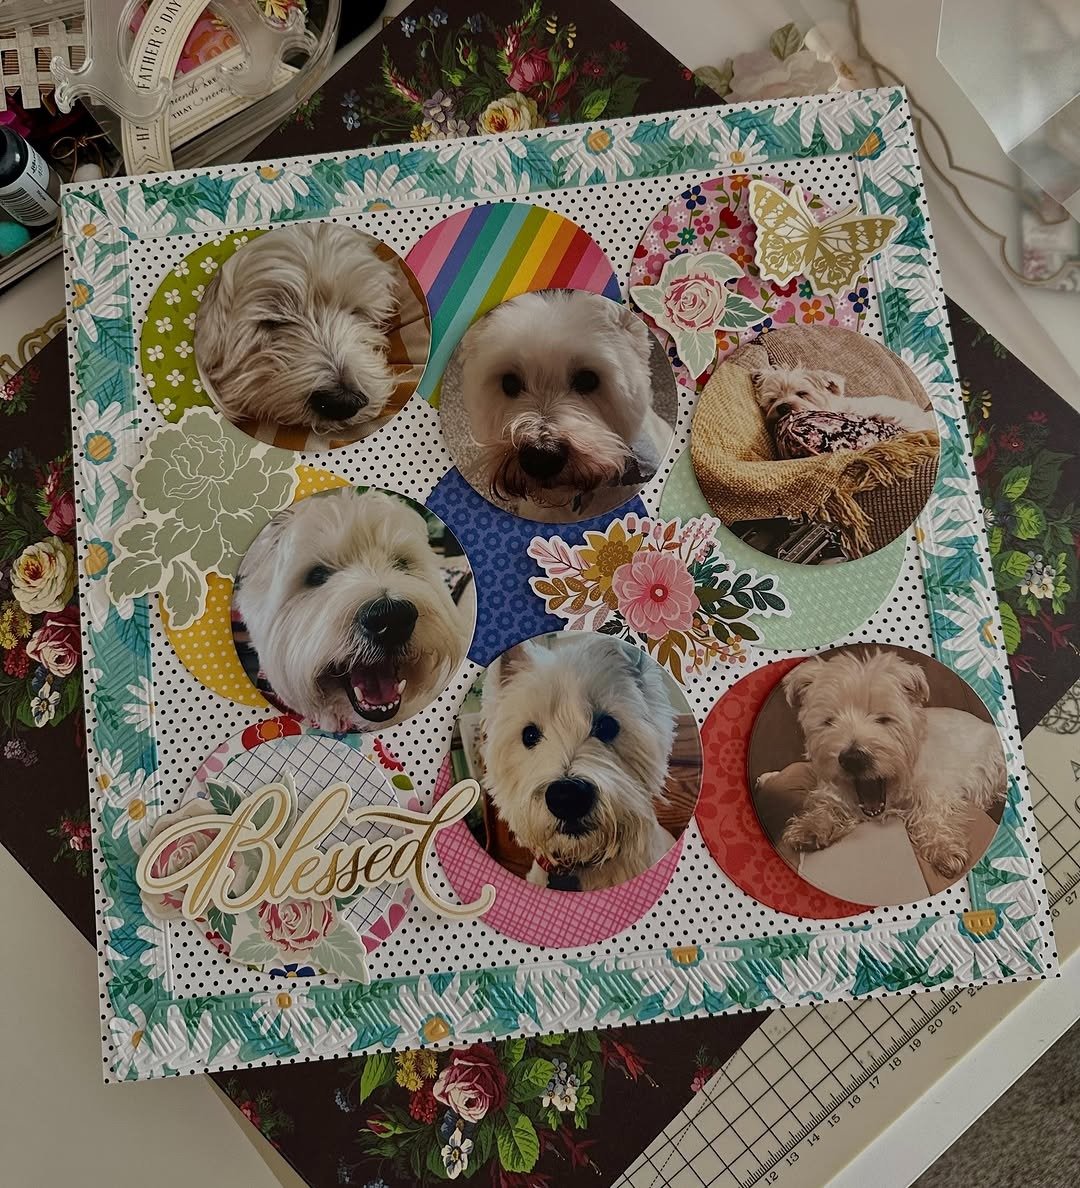
If a pet is part of your story, they earn a page. The adoption day photo, the couch naps, the three of you on a walk.
Add one anecdote only the two of you would find funny. Pet pages melt even the toughest reader.
💡 Quick Tip
No pet together yet? Swap in the “our friends and family” page instead. The people who shaped your relationship deserve a page too.
11. Birthday and Anniversary Spotlight
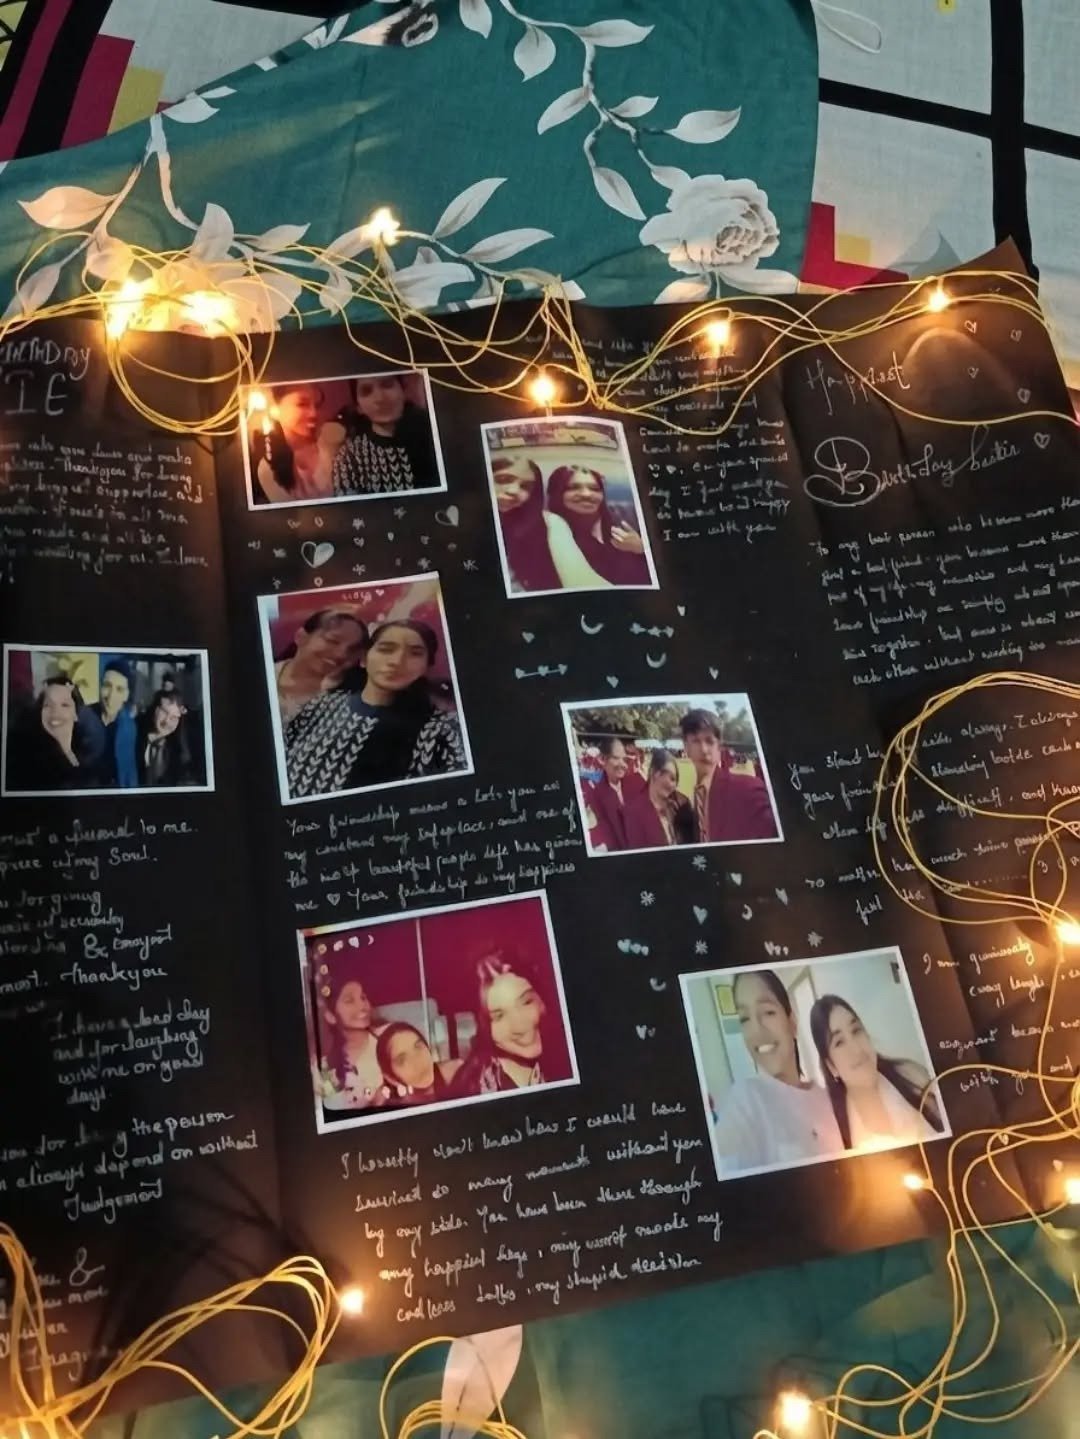
One celebration per page. The cake, the gift, the surprise that worked or hilariously did not.
Cards he gave you can be taped open or slipped into a glued envelope pocket so he can read them again.
What goes on the spotlight page
12. Bucket List for Us
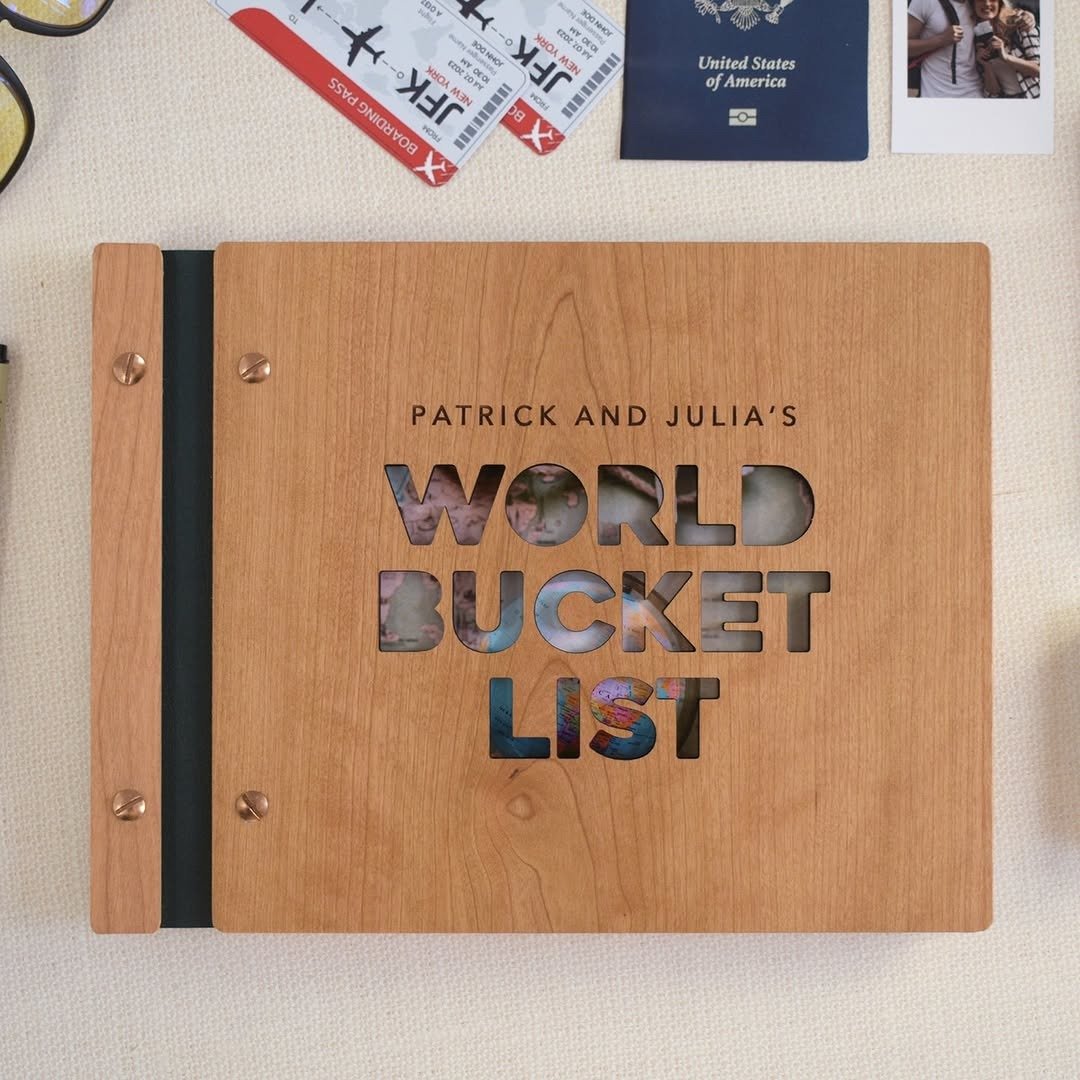
Not a memory page, a future page. List the trips, restaurants, skills, and silly goals you want to do together.
Leave blank space next to each item for a photo once it happens. This page quietly turns the book into a tradition you both keep adding to.
- ▸Mix big dreams (that road trip) with small ones (that taco truck).
- ▸Write each item as a checkbox, not a wish. Checkboxes get done.
- ▸Leave the bottom third of the page empty for future photos.
13. Love Notes Pocket
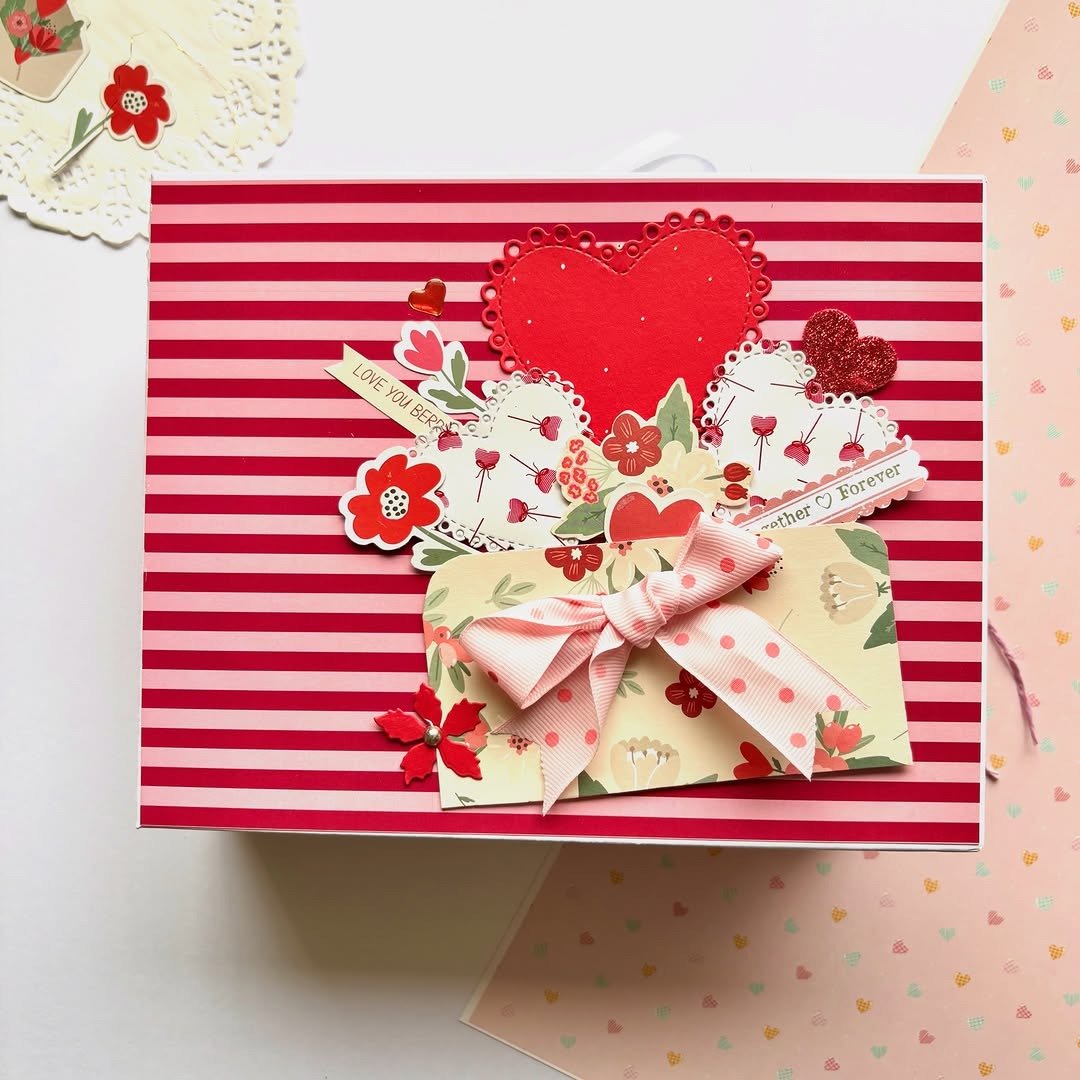
Glue three or four small envelopes onto one page and seal a short note inside each. Label them with moments: “open when you had a bad day,” “open on our next anniversary,” “open just because.” Hidden notes are the page he talks about for years.
14. Then and Now
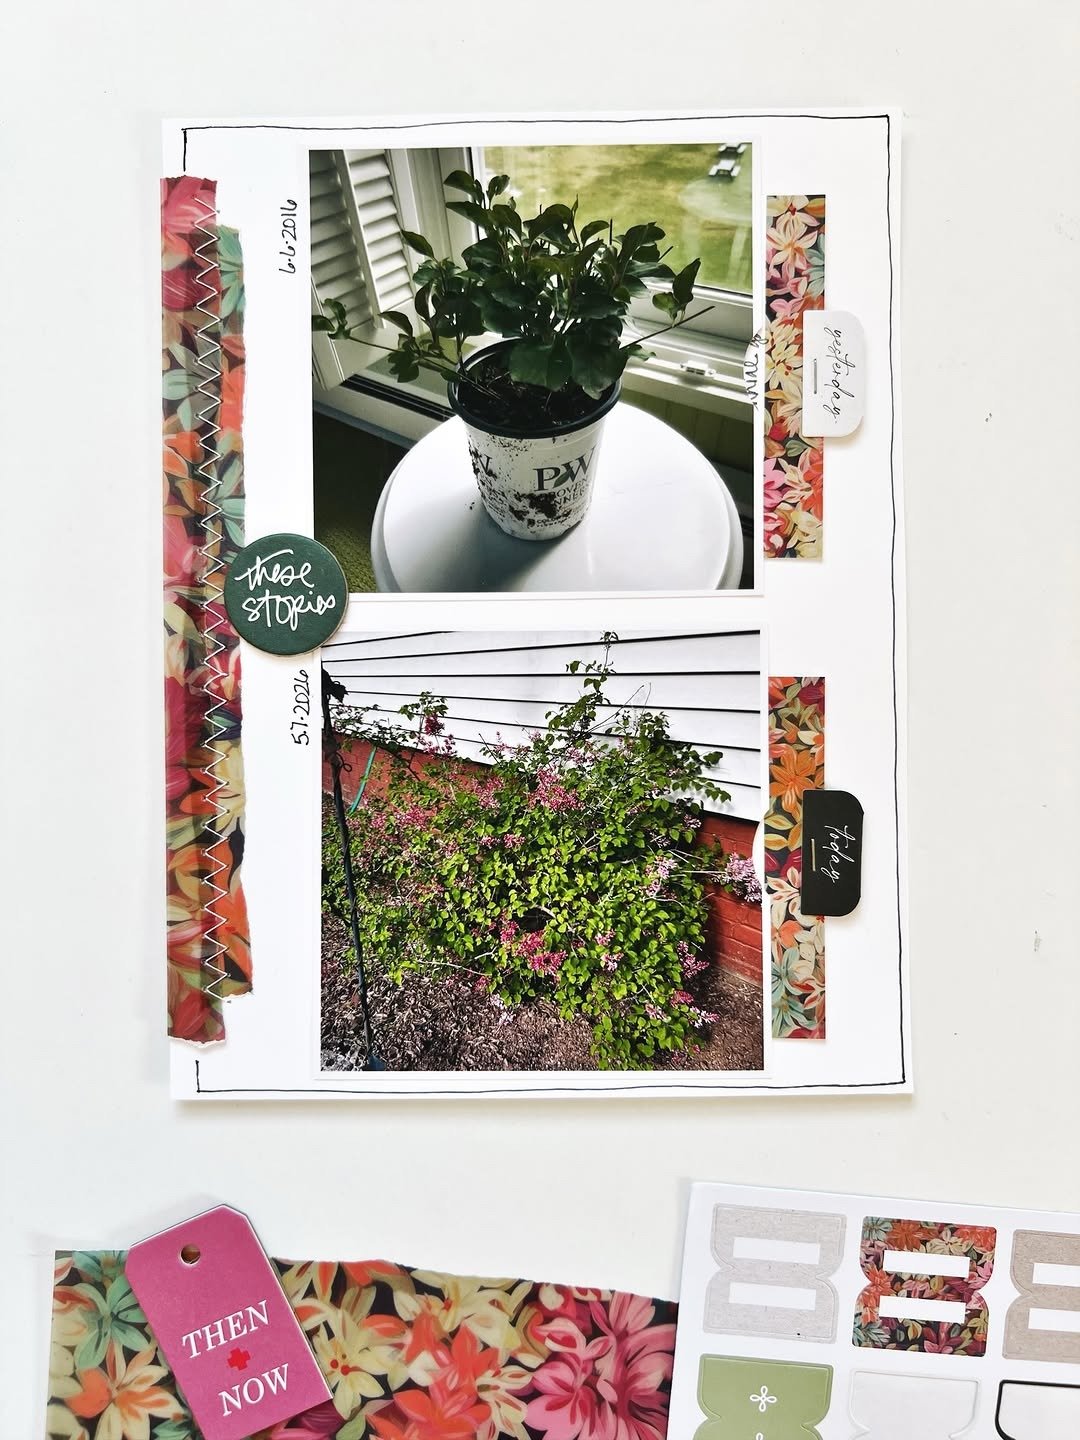
Find an early photo and recreate it today. Same pose, same spot, same faces a little older.
Put the two side by side on one page. The comparison does all the talking, and the photo session itself becomes a new memory to add later.
The early photo, exactly as it was. Do not crop it. The raw edges are part of the charm.
The recreation in the same pose. Caption it with what changed and what never will.
15. The Last Page: A Letter to Him
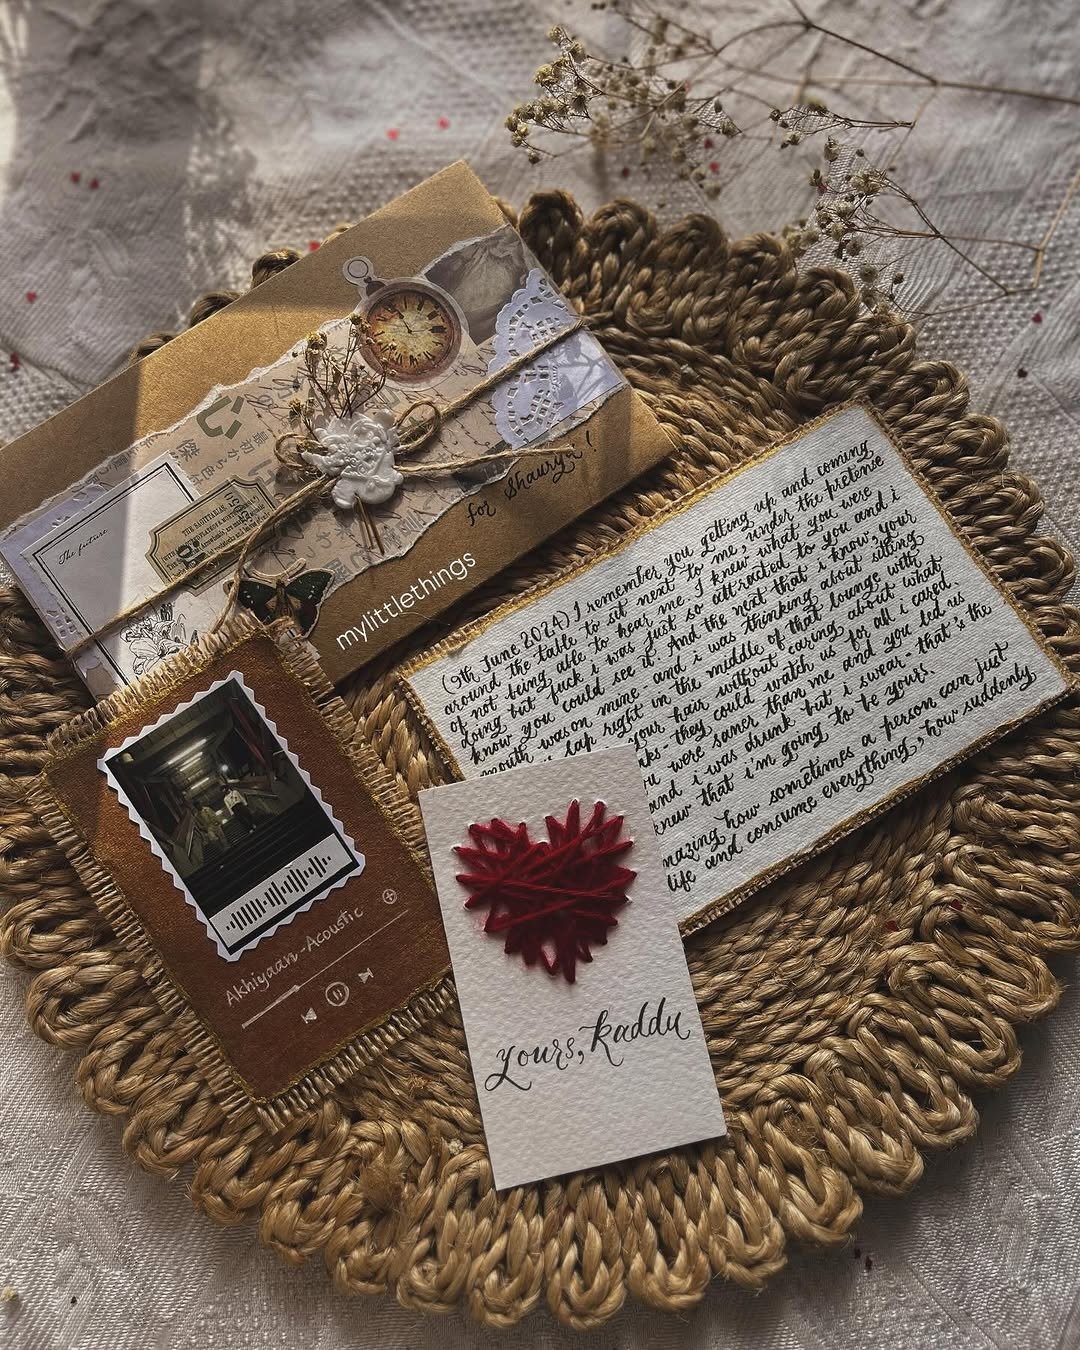
Save the final page for one full letter. No photos, no decorations, just your words on a clean sheet.
Tell him what the relationship means, what you admire, and what you are looking forward to. It is the last thing he reads, which makes it the thing he remembers most.
Write it by hand, in one sitting, the way you would say it out loud. Do not edit it to death. Real beats polished on the last page.
Scrapbook for Boyfriend: Frequently Asked Questions
How long does it take to make a scrapbook for my boyfriend?
Plan on two or three relaxed evenings for a 12 to 15 page book. Photo gathering takes the longest, usually a few days of digging through phones.
The actual building goes fast once your pages are planned on paper first.
How much does a beginner scrapbook cost?
About $30 to $50 for the basic kit: an album or binder, paper, glue, scissors, pens, and decorations. Photo printing adds roughly $5 to $15 depending on how many you print.
Starting simple keeps it cheap, and the basics last for future books.
What if I am not crafty at all?
Then you are the target audience for this scrapbook for boyfriend guide. The layouts here need scissors and a glue stick, not talent.
Stick to the single-photo and grid layouts, reuse two or three patterns, and let the photos and your handwriting carry the page.
How many photos do I need?
Twenty to forty photos fills a first book nicely. Fewer than 15 and pages feel thin.
More than 50 and the project starts feeling endless. When in doubt, print fewer.
You can always add pages later, especially with a binder.
What if we have not been together very long?
Shorter relationships just need a shorter book. Eight to ten pages is plenty.
Focus on the milestones you do have, add the bucket list and love notes pages, and leave blank pages at the back. The empty pages become a promise, not a problem.
Final Thoughts: Start Ugly, Finish Loved
Your first page will not be your best page. That is fine.
It will be your most honest one, and honesty is the whole point of a handmade scrapbook for your boyfriend.
Print the photos tonight. Buy the cheap kit this weekend.
Sketch three layouts on notebook paper. The book builds itself from there, one evening at a time.
Want more ways to spoil him? Browse our 50 gift ideas for your boyfriend he will actually use for presents that pair perfectly with the book.
And when the scrapbook is done, start a weekly tradition to keep making memories with our guide on how to start a weekly date night habit.
4 Comments